Introduction
Welcome to LangChain, an open source framework for building agents and LLM applications! Agents work with language models and tools to create systems that reason about tasks, decide what provided tools to use, and come up with solutions to the problems (tasks). LangChain provides agent architectures out of the box. One of the objectives of these tutorials is to use LangChain to learn many of the relevant patterns in agent architectures. We’ll be using the python language to write the infrastructure. We will also use Anthropic’s Large Language Models (LLMs) so get yourself an anthropic account and API key. Models are the reasoning engine of agents (the brain). You will need a key locally to access the models. You also need Python 3.12 or higher on your local machine for this project setup. Technically LangChain can make due with Python 3.10 and above. Just change the version in the file pyproject.toml to adjust if needed. I will be using the uv package manager for python and Docker Desktop so we can do things like use Pinecone vector database and other things later on with extensions for LangChain. I’m running macOS Tahoe 26.1 on my machine with Docker version 29.1.3. I will try to make sure these run on WSL 2.0 (linux) via Windows as well.

Get and run the project
Using github, get the repository containing the tutorials, note this will be expanding with new stuff.
https://github.com/swaggerloaf/langchain-python-tutorials
With your machine setup with uv, python, git you should be able to clone this repository then run uv sync in the project directory.
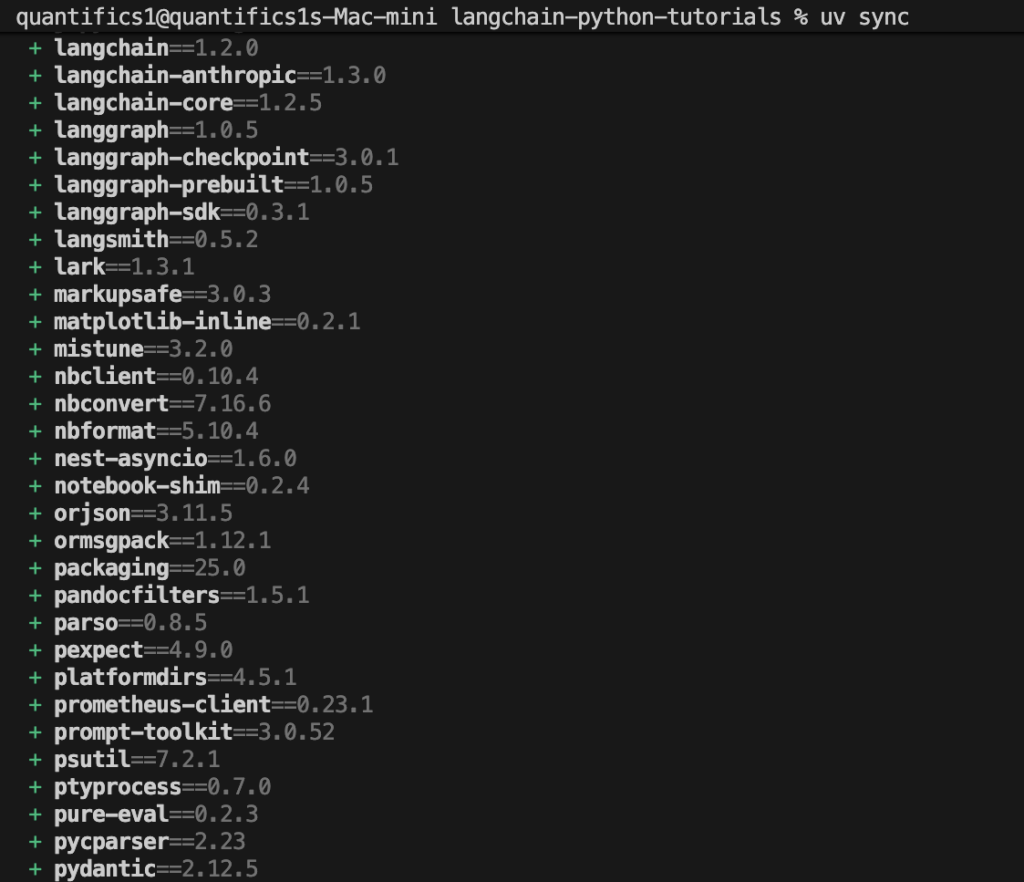
Above I’m showing some of the python packages installed as specified in the pyproject.toml file. Note the underlying packages langgraph and langsmith installed also. We’ll be looking at them later on as things get more complex.
Now run . ./.venv/bin/activate in the project root directory using terminal to activate the python environment.
Make sure to create an .env file in the project root directory and place this in the file ANTHROPIC_API_KEY=’your-api-key-here’
The api key is the secret key you set up with anthropic. Notice we are using the claude-haiku-4-5-20251001 model which has the lowest cost but is very capable. To run this demo you will spend pennies. Keep an eye on the cost as we add data down the road.
Open the folder 01-your-first-agent and select file tutorial-01.ipynb. You should now be able to execute the notebook code after selecting the environment you activated. The AI response content should look similar to this:
The warehouse in Paris, France is **up and running and ready to ship today**, with the exception that it cannot ship to France and Canada.
Congratulations, you just used your first agent.
The system prompt
The system prompt defines the role and behavior of your agent. It can detail tasks and constraints. Let’s modify the prompt to add a constraint for the agent response. In the create_agent function call set the system prompt as below:
system_prompt=”You are a warehouse manager who is only allowed to give information concerning the United States.”
Now run the agent again and see if the response content has changed. As you can see the system prompt can control the behavior of the agent. By the way, you just did some prompt engineering, guiding the model to generate desired, accurate, and useful output.
That concludes this tutorial.
Tips
For getting setup, this github repository might be helpful for some, especially on a mac. https://github.com/swaggerloaf/huggingface-on-mac-pytorch
Don’t forget to add the .env file in the project root directory with your anthropic API key value.
A final file in the tutorial directory is provided for reference.
Check the Claude console and see you are spending very minimal to run this notebook.